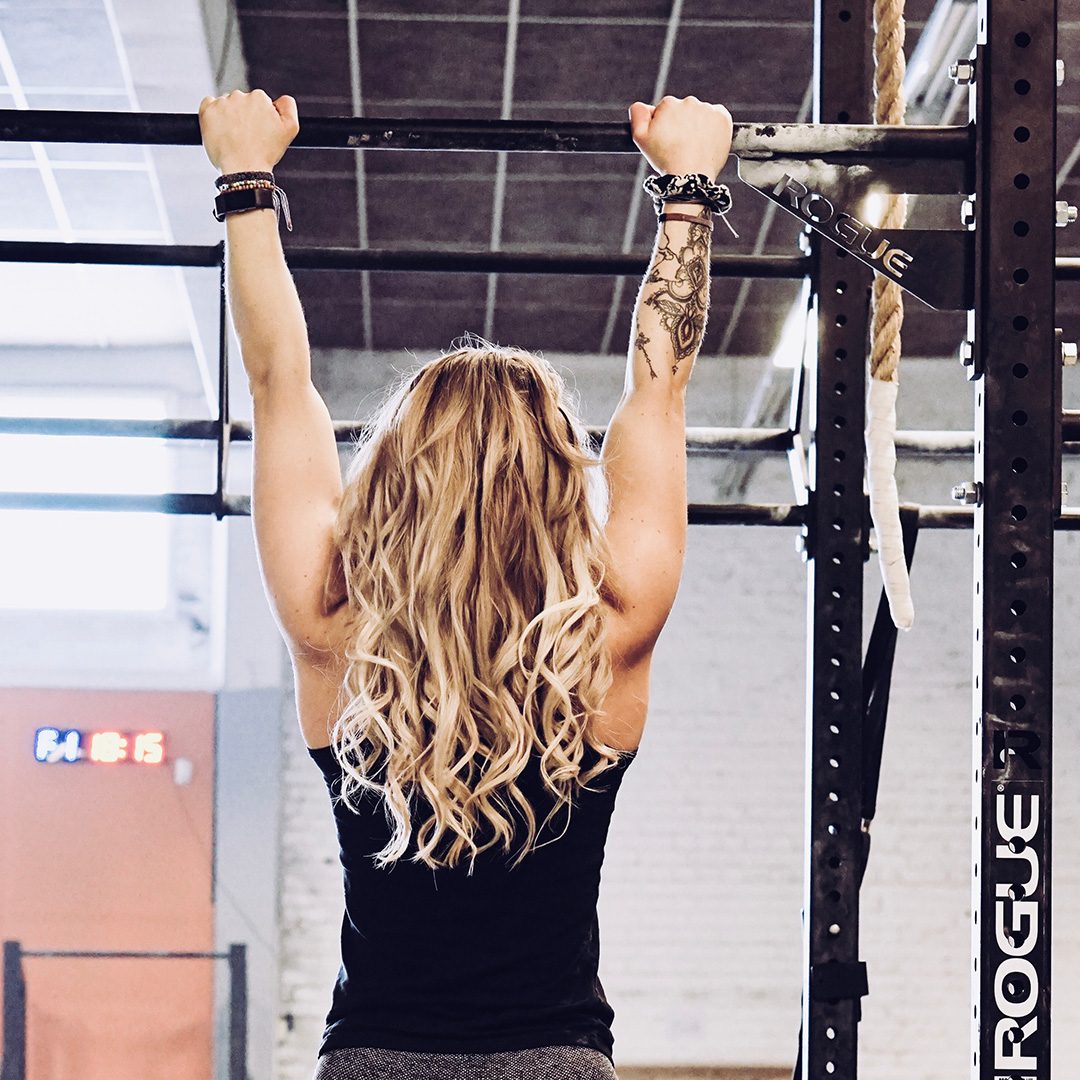
The pull-up is acknowledged to be the undisputed king of upper body movements. It works a large variety of muscles including: Lats, biceps, traps, rhomboids and more.

Some things you should know:
- Pull up machines are ineffective
- Band-assisted pull ups by itself are less effective
- You must build a foundation of pulling strength
- To be good at pull ups, you need to do pull ups
- Consistency is ultimate key
- Specificity + Practice = SUCCESS
First off, I’m a firm believer that building your body weight strength is equally important as your strength to lift weights (vice versa). Currently, I can do a total of 17 strict pull ups and yes, I am woman! (RAWR!)
Cindy Lee Varied Pull Ups Video
While I did mention above that band-assisted pull ups are less effective, I did manage to get my very first pull up from it many years ago. While some coaches are 100% against it, I don’t think they should be completely dismissed. If programmed with other variations of the movement, they do have a place and can aid in your progress if utilized properly.
Secondly, I believe in doing variations of the movement that mimic the mechanics of the pull up as much as possible. It develops proper motor skills and are used in strengthening the structures involved in the pull up.
The pull up guide was written for the beginner in mind and to give a simple structured approach in conquering your first pull up. At the same time, helping you ingrain quality movement and understand where your body is through space so that you remain injury free. Your foundations set you up for more advance pull up movements if each repetition is done with a purpose in mind. If you want to do pull ups like a boss you must first perfect the foundations.
OK, ENOUGH SMALL TALK. HERE’S HOW TO DO IT!

NOTE: This program assumes your shoulders are healthy. The shoulder joint is more prone to injury when its structures aren’t properly developed. Scapula awareness becomes more critical.
SCAPULA PULL UP: The scapula pull up is a great warm up exercise and a technique primer to develop proper lat activation and scapula awareness before beginning the actual pulling movement itself. Start by hanging on the bar with a grip just outside of your shoulders and settle into a completely motionless position. Pull your shoulder blades down and back, slightly allowing your chest to rise. The elbows should remain locked out. Hold for a split second then reset for the next rep. It will take a few reps in order to get a good pattern set in. A cue I like to use is putting your shoulder blades into your back pocket.
HOLLOW BODY/ TUCK/SINGLE LEG HOLD: This exercise will help you develop your overall core strength and teach you how to create body tension. It’s one of the most important and fundamental exercises one should master in order to progress in general body weight movements and developing a stronger pull up. Check this video from Dusty Hyland for detailed explanation on the variations.
Progression: Aim for 10 seconds and as you progress through the programming challenge yourself by increasing the duration and/or slowly working on extending a single leg, and finally both legs from week to week/every other week.
NEGATIVE PULL UPS: Here we begin slowly developing the musculature and motor skills of the pull up itself. If using a box, set it up to where it’s a foot behind or so from the pull up bar. Find a placement where you aren’t leaning to far forward into the pull up bar or where your legs aren’t hitting the box as you descend. Start by jumping up or using a box to hold your chin over the bar and slowly control yourself down until your elbows lock out. I repeat, CONTROL, yourself down. You may use one leg on top of the box to descend if necessary, but use as little leg assistance as possible. You may stack bumper plates to reach chin height (you’ll have better control at the top this way) or jump directly from the box if you can demonstrate proper control from the start. I like for clients to think about resisting gravity as much as possible.
Progression: Aim for 5 seconds and as you progress through the programming challenge yourself by increasing the duration from week to week/every other week.
BARBELL ASSISTED PULL UPS: You can either use a smith machine or a squat rack. You’ll need to adjust the pegs/hooks in finding the appropriate starting height. The higher the bar, the easier the movement becomes. The lower you go, the harder the movement becomes. Use a box and keep it a few feet away from the bar. After adjusting your barbell height, start by mounting the bar with a grip right outside the shoulders. Place heels on the edge of the box with your toes pointed up. You may have to adjust the box so that shoulders and hips sit right underneath the bar as much as possible. Begin your repetition by pulling your shoulders blades down and back, keeping elbows locked out. End by pulling your chin over the bar. Use your legs to assist you as little as possible. Reset each rep and repeat.
Progression: Lower the bar or add weight (weight sits on your upper thigh) week by week/every other week.
DEAD HANG: This exercise is used to strengthen your grip. Start by mounting the bar with your grip placed right outside of your shoulders. Stay completely motionless as much as possible and hold on for dear life! Think hollow body!
Progression: Aim for 5 seconds and as you progress through the programming challenge yourself by increasing the duration from week to week/every other week.
INVERTED BARBELL ROWS/ RING ROWS: Your body weight itself will help develop pulling power in these movements. Start at a 45 degree angle (or more if necessary) and pulling your shoulder blades down and back creating a “lock”. Keep heels together and toes pointed up to the ceiling. Send your elbows directly back and lead with the chest until it makes contact with the ring/bar. Maintain a straight line from ankle to shoulder and from start to finish. Do not let your hips “sink”. Squeeze the glutes and keep a rock solid core. Think about the body moving as one solid unit.
Progression: Challenge yourself by walking your feet away from you week to week/every other week. The more parallel you are to the floor the harder the movement becomes. If using a barbell set up (Ex. squat rack/smith machine) then you will have to lower the bar and adjust your footsies from there.
*May use rings/TRX to substitute. Same rules still apply.*
BAND ASSISTED PULL UPS: We’re using this to add some volume into your training. The thicker the band the more assistance you get and vice versa. Choose one where you can maintain quality reps while providing a challenge. Start by looping a band over a pull up bar. Bend one leg, use both hands to pull the band down from the bottom and place it in the middle of your foot. Lock knees completely. Grab the bar with your grip just right outside of your shoulders. Lower yourself until your elbows lock out. Squeeze the glutes and keep a rock solid core (hollow body) Set shoulders (think scapular pull up) and pull yourself up until your chin is above the bar. Reset completely for each rep and repeat. Move methodically with quality reps.
Progression: Challenge yourself by moving down to a thinner band over the course of the weeks.
*If you don’t have various bands to choose from, you will substitute band assisted pull ups for negative pull ups. You will instead do negative pull ups twice a week, 4x 3-5 attempts.
Common Mistakes:
- Hyper-extended back: The body must move in one solid unit, keeping a tight hollow core is a must.
- Excessive use of momentum: swinging or pumping yourself up toward the bar
- Partial range of motion: Chin should be over the bar and return with your elbows locked out
- Shrugged shoulders (“hunched” look): This places stress on your shoulders and traps (internal rotation). Shoulder blades/scapular must continue to stay down and back throughout the movement.
- Crashing and dropping down on the shoulder/elbow joint: This also places significant stress on your shoulders and elbow joints. The movement should always be controlled throughout the entire range of motion.
Test and repeat every 8-10 weeks until you can nail your first pull up! Continue this program until you can do 5-7 total. Pass this article around and share to those who may find this useful. If you found that this program worked for you or have any additional questions please feel free to drop a comment below and I’ll do my best to respond in a timely manner.
Ok, bye!
Cindy Lee

The link to the program doesn’t seem to be working anymore. I used the calendar program in the past to work up to a pullup and it worked great. I’ve since gotten out of a routine and would like to work my way back to pullups!